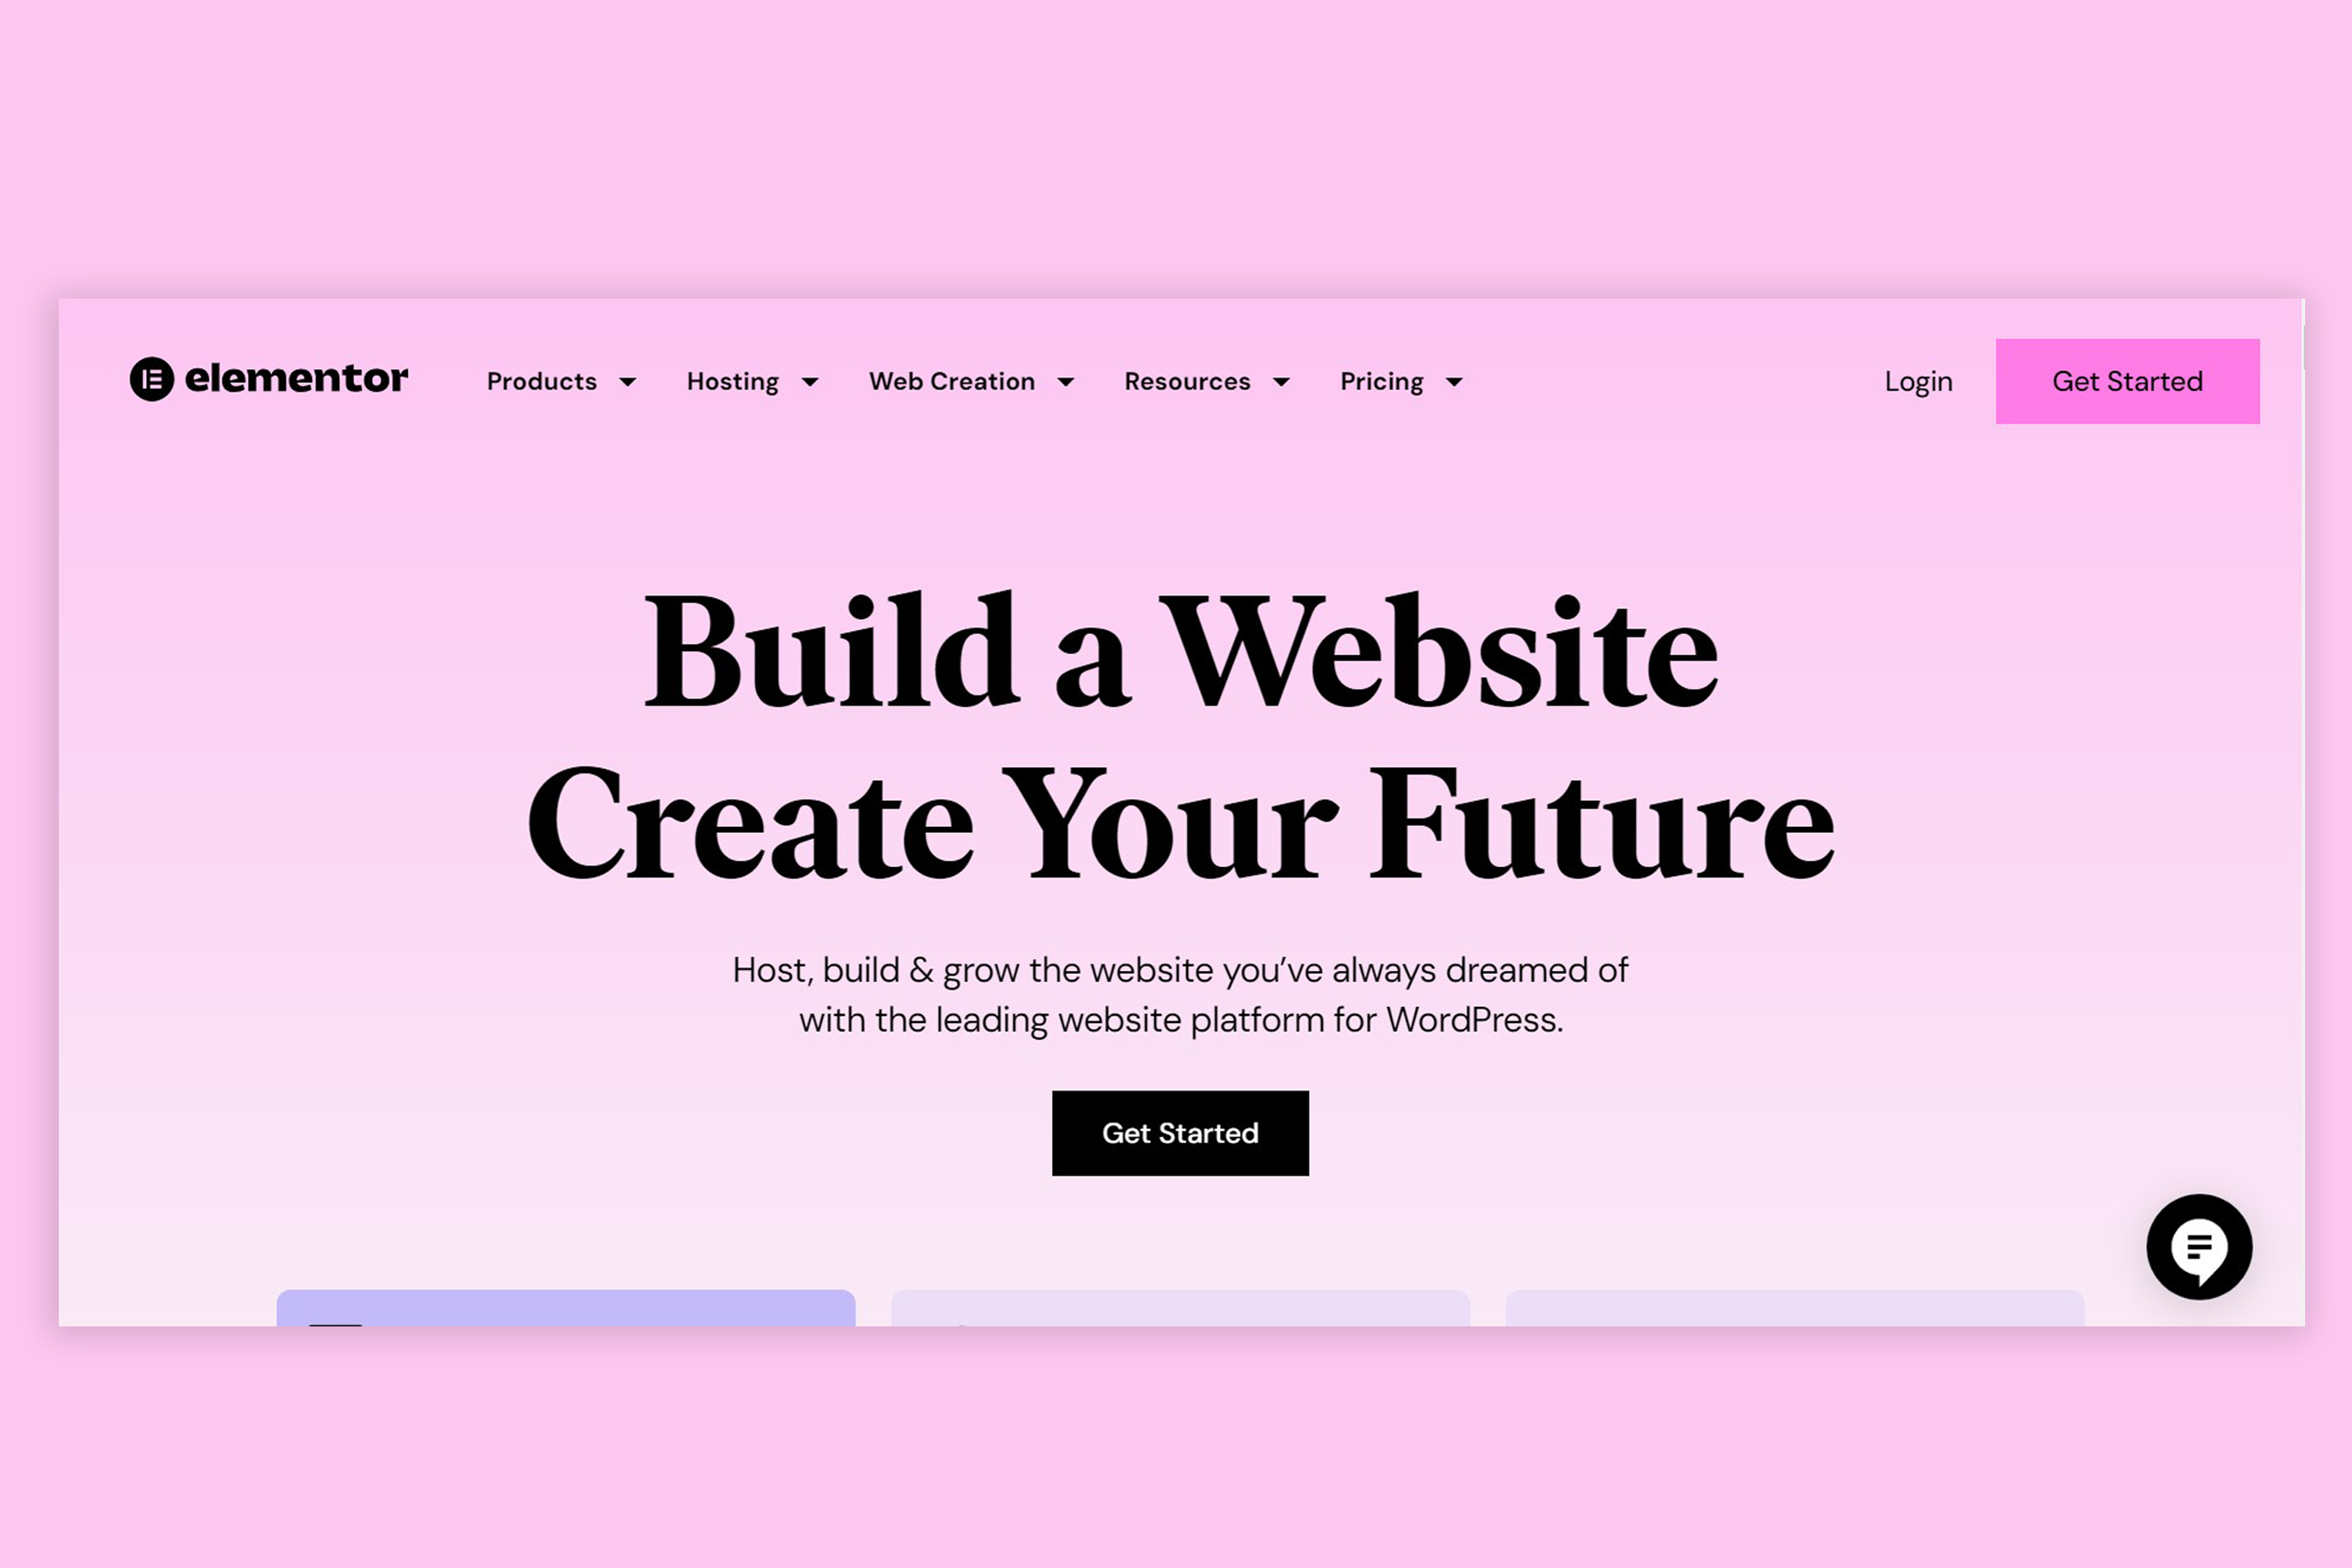
Elementor is a powerful drag-and-drop page builder for WordPress that allows you to create stunning, responsive websites without writing a single line of code. With its intuitive interface, anyone can design professional-looking websites with ease. In this blog, we’ll walk you through how to use the Elementor plugin to build and customize your website like a pro.
What is Elementor?
Elementor is a WordPress plugin that enables users to create custom layouts and designs. Unlike the default WordPress editor, Elementor gives you complete control over every element on your page, from headers and footers to complex grids and animations.
Key Features of Elementor:
- Drag-and-drop editor: Design pages visually without needing to know HTML or CSS.
- Responsive design: All designs are automatically optimized for mobile, tablet, and desktop.
- Pre-designed templates: Choose from hundreds of templates to jumpstart your design.
- Widgets: Add buttons, forms, sliders, images, and other elements quickly.
- Theme Builder: Create headers, footers, and other global elements for your site (Elementor Pro).
Installing Elementor
Before we dive into using Elementor, you need to install it on your WordPress website. Here’s how:
- Log into your WordPress Dashboard.
- Navigate to Plugins > Add New.
- In the search bar, type Elementor.
- Click on Install and then Activate.
Once installed, you’re ready to start building!
How to Use Elementor: Step-by-Step Guide
Step 1: Create a New Page
- Go to Pages > Add New.
- Click on the Edit with Elementor button at the top of the page. This will launch the Elementor editor.
Step 2: Understanding the Elementor Interface
Once the editor opens, you’ll see two main sections:
- Widgets Panel (on the left): This is where you’ll find all the available widgets like text, buttons, images, etc.
- Live Preview (on the right): This is where you can see your changes in real time as you build your page.
Step 3: Adding Elements to Your Page
- Drag and Drop: Simply drag an element from the Widgets Panel and drop it onto the Live Preview area.
- Edit Element: Once an element is on the page, click on it to customize the content, style, and layout.
For example, to add a heading:
- Drag the Heading widget from the left panel and drop it on your page.
- Click on the heading to edit the text and customize the font, size, and color.
Step 4: Using Sections and Columns
Elementor uses a structure of Sections, Columns, and Widgets to organize your content.
- Sections: These are the main building blocks of your page. Each section can have one or more columns.
- Columns: Inside a section, you can add columns to arrange content in rows.
- Widgets: These are the individual elements like text, images, or buttons that go inside the columns.
To add a section:
- Click the + icon on the Live Preview area and choose a column structure. You can choose one, two, or more columns based on your design.
Step 5: Customizing Widgets
Every widget has three tabs:
- Content: Here you can edit the text, images, or links for the widget.
- Style: This tab allows you to customize the appearance, such as colors, fonts, and backgrounds.
- Advanced: Use this tab to adjust margins, padding, animations, and custom CSS.
Step 6: Using Pre-Made Templates
If you don’t want to start from scratch, Elementor provides a library of pre-designed templates:
- Click the Folder icon on the Live Preview area to browse Elementor’s template library.
- Choose a template and click Insert.
- Customize the template as needed by editing the elements and sections.
Step 7: Responsive Design
Elementor makes it easy to create responsive designs that look good on all devices. At the bottom of the left panel, click the Responsive Mode button to switch between Desktop, Tablet, and Mobile views. You can adjust your design specifically for each device.
Step 8: Publish Your Page
Once you’re satisfied with your design:
- Click the Publish button at the bottom of the left panel.
- You can also set visibility settings or choose whether to publish immediately or schedule the post for later.
Bonus Tips for Using Elementor Pro
If you have Elementor Pro, you unlock additional features like the Theme Builder, which lets you design your entire site (header, footer, single post pages, and archives), and advanced widgets like Forms, Slides, and more.
Here’s how to use the Theme Builder:
- Navigate to Templates > Theme Builder.
- Choose which part of the site you want to design (header, footer, etc.).
- Use the same drag-and-drop interface to create your custom layout.
Final Thoughts
Elementor is one of the most powerful and user-friendly page builders for WordPress. Whether you’re creating a simple blog or a complex business website, the Elementor plugin can help you design stunning pag